#yum install -y httpd //安裝apache
#systemctl enable httpd //httpd服務開機進行自啟
#systemctl start httpd //啟動httpd服務
Step 3 – install mariadb
#yum install -y mariadbmariadb-server //安裝mariadb
#systemctl enable mariadb //mariadb服務開機進行自啟
#systemctl start mariadb //啟動mariadb服務
#systemctl status mariadb.service //檢查mariadb服務是否正常安裝
Step 3 – install PHP
#yum install -y php php-mysql //安裝php環境
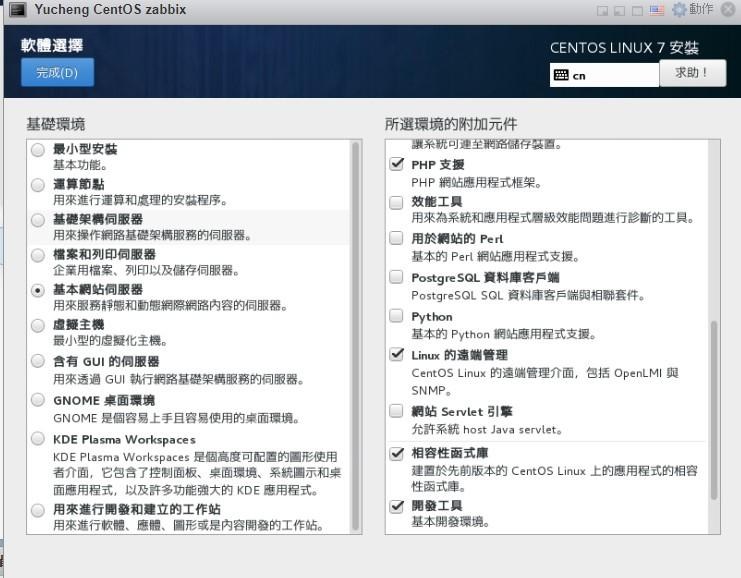
Step 4 – install zabbix
//安裝版本為4.2zabbix如需其他版本請去官網查詢下載網址
#yum install -y zabbix-server-mysqlzabbix-get zabbix-web zabbix-web-mysql zabbix-agent zabbix-sender
//安裝zabbix
#mysql
//進入mariadb
MariaDB [(none)]>create databasezabbix character set utf8 collate utf8_bin;
//創一個zabbix資料庫並設置為utf8的字符編碼格式
MariaDB [(none)]>grant allprivileges on zabbix.* to zabbix@localhost identified by '你localhost密碼';
//創建帳號並且授權設置密碼
MariaDB [(none)]>grant allprivileges on zabbix.* to zabbix@'%' identified by '你的密碼';
//創建帳號並且授權設置密碼
MariaDB [(none)]>flush privileges;
//刷新
MariaDB [(none)]>exit
# cd/usr/share/doc/zabbix-server-mysql-4.2.8/ //到-按tab讓他自動搜尋
[root@localhostzabbix-server-mysql-4.2.8]#pwd
[root@localhostzabbix-server-mysql-4.2.8]#ls
[root@localhostzabbix-server-mysql-4.2.8]# gunzip create.sql.gz
[root@localhostzabbix-server-mysql-4.2.8]#ls
[root@localhostzabbix-server-mysql-4.2.8]#mysql
MariaDB [(none)]>use zabbix;
MariaDB [zabbix]>source create.sql
#vi /etc/zabbix/zabbix_server.conf
找到以下值將其鍵入
DBHost=localhost
DBName=zabbix
DBUser=zabbix
DBPassword=你的密碼
DBSocket=/var/lib/mysql/mysql.sock
完成後輸入:wq 儲存後離開
#systemctl start zabbix-server.service
#systemctl enablezabbix-server.service
#systemctl startzabbix-agent.serveice
#systemctl enablezabbix-agent.serveice
Step 5 – Set time zone
#cd /etc/httpd/conf.d
# vi zabbix.conf
如上鍵入php_value date.timezoneAsia/Taipei
#systemctl restart httpd //重啟httpd
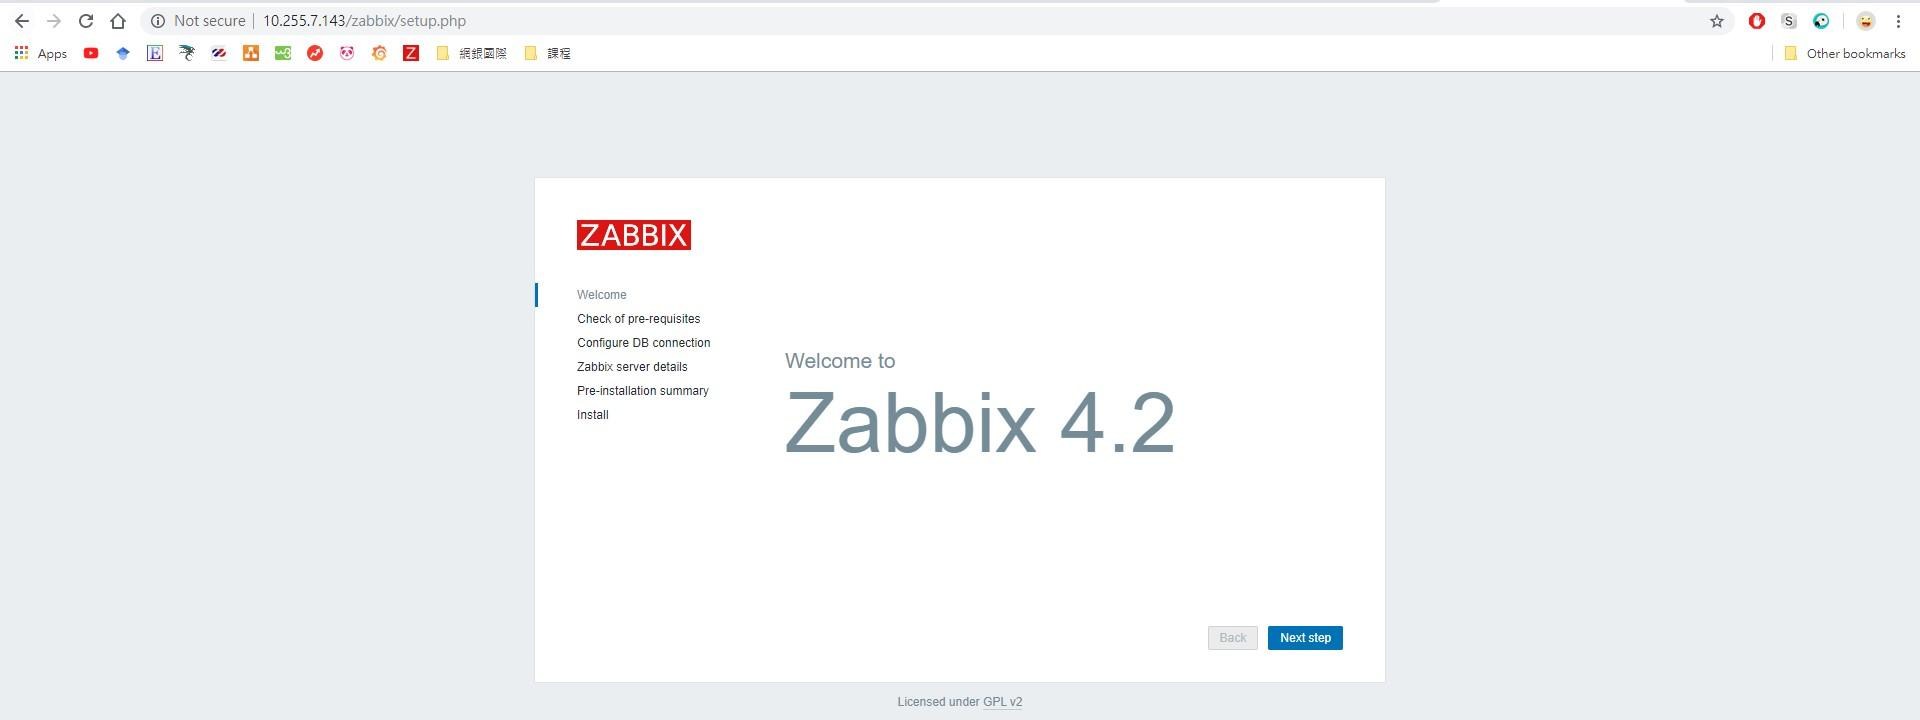
Step 6 – 網頁安裝zabbix
開啟網頁輸入你的ip/zabbix //進行zabbix安裝
輸入剛剛設定的密碼
設定zabbix server細節
完成安裝
登入username是Admin Password是zabbix
 創作內容
創作內容


 ,過來人的經驗如遇到問題請都用全英文查詢)


 Zabbix (1)